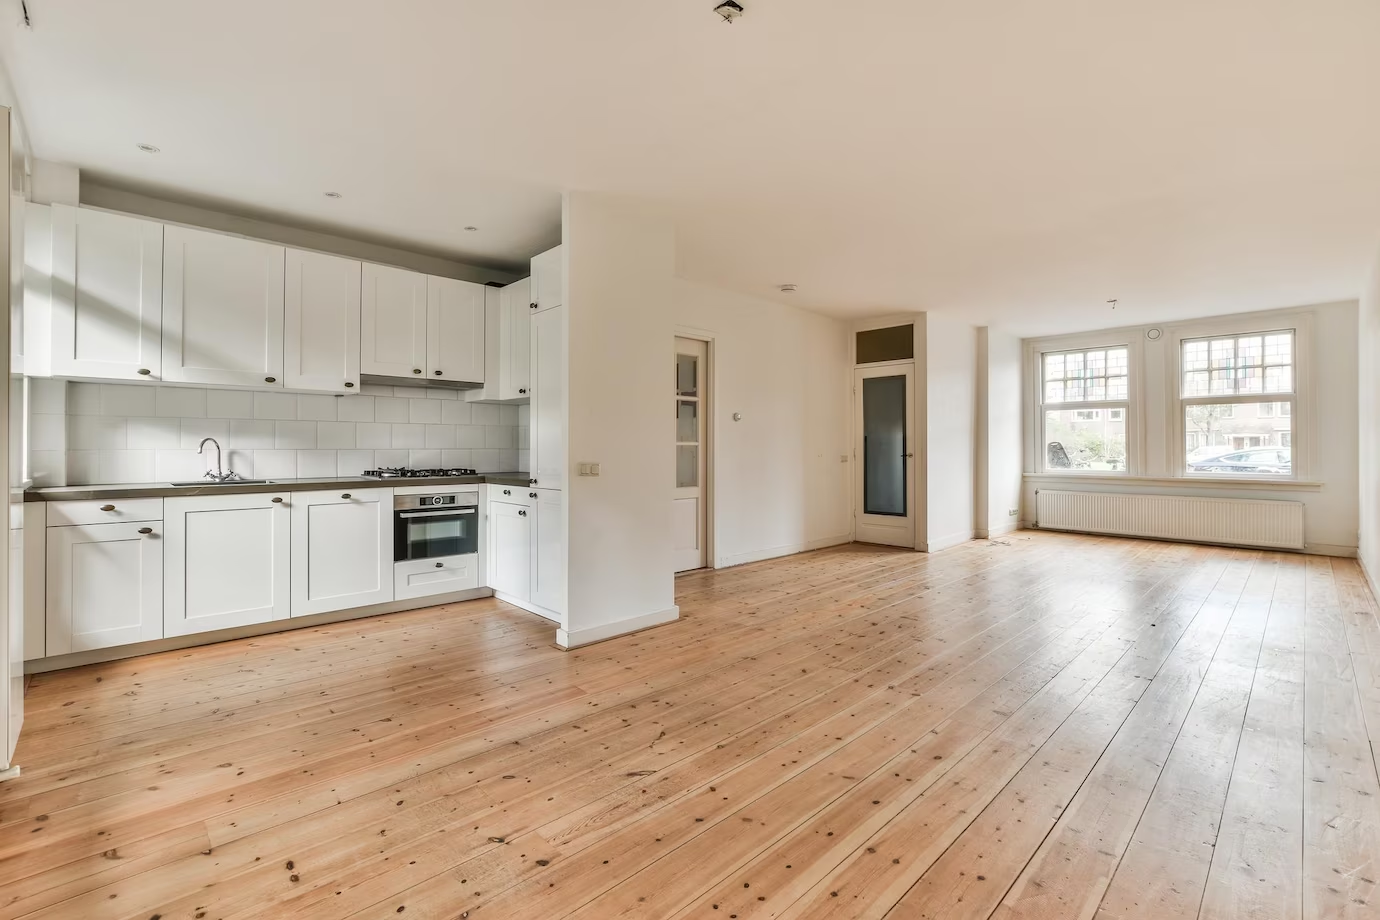
Renovating your kitchen and bathroom shouldn’t be a source of stress or uncertainty. With over 30 years of experience bringing Melbourne homes to life, we’re here to guide you through a seamless, enjoyable renovation experience. From the initial spark of inspiration to the final touches that make your space truly yours, we’re with you every step of the way.

Let’s display our experience on a clear path forward, presenting the seven steps to a stress-free kitchen and bathroom renovation experience.
Step:1 Dream Big, Plan Smart
When you consider renovating your bathroom and kitchen, the first step is always about dreaming big but planning smartly. It’s about asking yourself, “What do I want my space to look like?” and “How do I want it to make me feel?”
Start by collecting ideas from magazines, websites, and places you’ve visited. This collection of inspiration will serve as a foundation for your renovation plan.
List what you need from your renovated space. Do you need more storage? Are you aiming for a more modern look? Even if you’re not an artist, try sketching your ideas. This can help you visualise the space and communicate your vision more effectively to others. Understanding your needs versus your wants helps prioritise your budget and design decisions.
Once you have a clear idea of what you’re looking for, it’s time to bring those ideas to life. This is where professional design sessions come into play. Working with a designer can help you:
- Refine your ideas into a cohesive plan that fits your space and budget.
- Offer solutions to practical problems, such as space constraints, and suggest features you might not have considered.
- Guide you in selecting options that fit your plans while being stable and within your budget.
Step 2: Budget Mastery
Start by determining how much you can afford to spend on your renovation. It’s essential to be honest about your financial limits to avoid overextension.
Break down your budget into labour, materials, fixtures, and a contingency fund for unexpected expenses. A general rule of thumb is to allocate around 10-20% of your budget for unforeseen costs. Don’t settle for the first quote you receive. Instead, gather several quotes from different contractors to ensure you’re getting competitive prices for the work required.
Cost-Saving Tips:
- Focus on renovations offering the most significant impact or return on investment. Sometimes, small, strategic changes can make a big difference.
- Consider taking on some of the work yourself if you’re handy. Simple tasks like painting or demolition can save you money on labour costs.
- Where possible, look at reusing existing materials or fixtures. Not everything needs to be brand new. With some creativity, you can repurpose items to fit your new design.
- While cutting corners to save money is tempting, seeking professional advice can be cost-effective in the long run.
Step 3: Choose Materials and Style Wisely
When designing your home, it’s important to consider the intended use of each space and the amount of traffic it will receive. If an area in your house is not used frequently, then it might be appropriate to use more luxurious finishes. However, if the area experiences regular traffic, it is recommended to use durable materials instead. To achieve a cohesive look and feel throughout your home, it’s important to select materials and styles that complement the overall design of your house.
Besides, selecting eco-friendly materials like bamboo flooring or recycled glass tiles, which can beautify your area while contributing to environmental preservation, is worthwhile, given the increasing significance of leading an eco-friendly lifestyle.
Adding current trends to your home can make it more modern and valuable, even if picking a look, you enjoy is still vital. Still, as trends come and go, it makes sense to:
- To guarantee that your area stays fashionable for many years, invest in trends with a timeless appeal, like natural materials or neutral colours.
- Use fashionable colours or patterns when designing easily interchangeable items like wall paint, shower curtains, or towels. Doing so allows you to adapt to your area as trends shift without starting from scratch.
Experts frequently have access to a larger variety of finishes and materials that are not easily accessible to the public, enabling you to design a unique place.
Step 4: Legalities and Compliance
Why do Permits Matter?
You must obtain a construction permit to ensure your remodelling project complies with regional building laws and safety standards. They preserve your house’s safety and structural integrity, protecting you as a homeowner. Permit applications differ depending on where you live. For clearance, you often need to submit comprehensive drawings for the renovation you want to do to your local building authority or council. Seeking advice from experts like us who can help prepare and submit these documents is a good idea.
Understanding that building laws and regulations can be intricate, and dynamic is crucial. They include structural modifications, plumbing, and electrical work, among other building components. It is imperative to stay current on these regulations. Professionals who understand current codes and procedures, such as licensed builders, electricians, and plumbers, are advised to be consulted. This will assist in guaranteeing that your project conforms with all applicable legal standards.
Before renovations, verify your contractor’s insurance coverage, including workers’ compensation and public liability. This will shield you from possible errors or harm when remodelling. Ensure warranties are provided for all the labour, supplies, and fixtures. This will safeguard you and offer comfort if anything does not match the standards following renovations.
Step 5: The Renovation Process
Preparation is key – before any work begins, it’s crucial to prepare your space. This might involve clearing the area, protecting floors and adjacent rooms from dust and damage, and setting up a temporary solution, especially for essential facilities like bathrooms. It’s important to have a clear timeline when undergoing a renovation project. This helps manage expectations and ensures that you and the renovation team are on the same page. While delays can happen, open communication can help make things go smoothly.
To stay informed about the progress of your renovation, your contractor or project manager should provide you with regular updates. This will help you to track milestones and any necessary plan adjustments. You must make decisions throughout the renovation process, from minor adjustments to dealing with unforeseen challenges. Being available and decisive will help keep the project moving forward.
It’s important to pay attention to the quality of work throughout the process. Don’t hesitate to raise any concerns about the workmanship or materials with your contractor as soon as they arise. For peace of mind, it is recommended to have periodic inspections by an independent or trusted professional to ensure your renovation meets industry standards and expectations.
Step 6: Quality Assurance
Take the time to inspect the workmanship closely. Look at the finishes on the cabinetry, the alignment of tiles, the sealing around wet areas, and the installation of fixtures and fittings. Everything should be executed with precision. It’s essential to test the functionality of every element. Faucets should run smoothly, doors and drawers should open and close effortlessly, and appliances must operate as expected.
If you notice any problems with the work completed by your contractor, create a detailed list of these issues, also known as a snag list. You should discuss this list with your contractor to ensure all concerns are addressed promptly and satisfactorily. Once the contractor has corrected the issues on your snag list, review them to ensure they meet your expectations. Your satisfaction with the outcome is essential.
After the contractor has addressed all the issues on the snag list, conduct a final walkthrough with them. This is an opportunity to express your satisfaction with the work completed and to thank the team for their efforts.
Providing feedback to your contractor is essential. Positive reviews can help their business in the future, while constructive feedback can help them improve. If you’re happy with the outcome, consider sharing your experience with others who may be considering a similar project.

Step 7: The Final Reveal and Aftercare
It’s crucial to walk through the area after finishing your restoration project and enjoy the little touches. Take note of how the chosen hues, materials, and patterns produce the mood you had in mind.
Discussing any issues you see with your contractor immediately during the final reveal is critical. A reliable expert will consent to make any required modifications to guarantee your utmost contentment. It’s important to talk about how issues in the future will be resolved, including how any issues that may arise after the project is finished will be dealt with. You’ll feel more at ease knowing you have help.
Asking your contractor for maintenance advice and best practices can help you maintain the brand-new appearance of your freshly renovated kitchen and bathroom after the final walkthrough. Knowing how to take care of them is critical to guarantee the longevity of newly installed surfaces, fixtures, and fittings. Ensure you get all the warranty details for the appliances, materials, and workmanship. These records should be stored securely because they will be useful in the future.
Looking Forward
As we settle into our newly renovated spaces, we’re reminded of the journey that brought us here. These spaces are more than just areas of our home; they reflect our journey, tastes, and the life we envision living within them. Ready to transform your space? Take the first step towards a beautifully renovated bathroom and kitchen. Reach out today, and let’s turn your vision into a reality. Your dream home awaits!
